
A Calm Workflow for Scanning Your Parents’ Old Photograph Boxes
Scan old family photographs in small batches with suitable settings, untouched masters, linked notes, careful handling, and checked recovery copies.
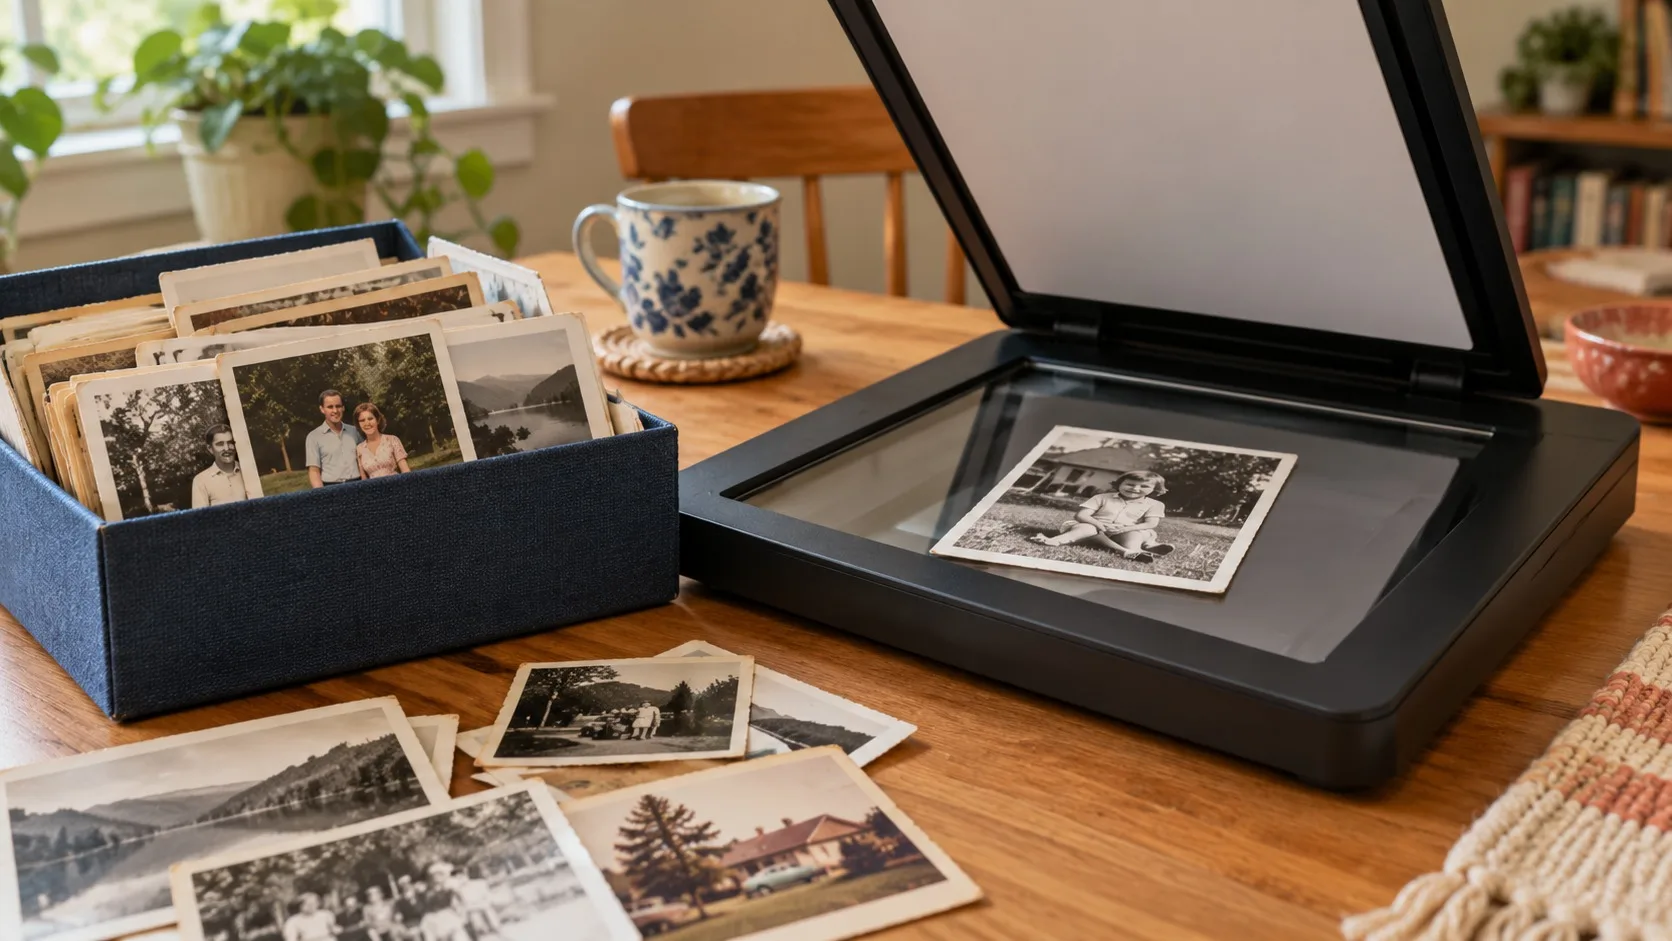
Start an old-photo scanning project with ten loose prints, a clean supported capture setup, and a way to connect each scan with its original. Preserve the order and existing notes before reorganizing the box. Make an untouched master scan, create edited copies only when needed, and check the files before putting the originals away.
A manageable first batch answers the questions that a large batch would multiply: can you handle the material safely, capture enough detail for your purpose, retain the backs and captions, and recover the resulting files? Do not make hundreds of scans before examining the first few at full size.
Inspect the box before choosing a scanner setting
Old photograph boxes can contain ordinary loose prints, mounted pictures, negatives, slides, fragile albums, and unrelated papers. Those materials do not all belong on the same capture path. A flatbed intended for reflective prints may not have the equipment needed for film.
Look for existing groups: envelopes, rubber-band bundles, album pages, and handwritten dividers. Record them before separating items. A group labeled for a family visit may provide context that no individual print contains. Photograph the arrangement and transcribe useful notes into the project record.
Set aside material that appears stuck, brittle, flaking, moldy, or otherwise unstable. Do not force apart adhered photographs or peel images from album pages for the convenience of scanning. Seek appropriate preservation advice for damaged or valuable originals. This guide covers ordinary stable household prints, not conservation treatment.
Choose a first batch that is physically easy to handle and meaningful to identify. Ten loose snapshots with known people are a better trial than the most delicate inherited album. A good first result builds a repeatable workflow while preserving the originals.
Prepare a clean, consistent capture area
Use a clean surface with enough space for incoming prints, the current item, and completed items. Keep drinks and food elsewhere. Handle stable prints carefully by their edges with clean dry hands, following material-specific preservation advice when the surface requires different handling.
Check the scanner manufacturer's instructions for cleaning the glass and supported materials. Dust on the glass can become a repeated mark across every scan. Clean the equipment as instructed, let any approved cleaning process finish, and examine a test capture before continuing.
Do not press an unwilling album flat under the lid. A photograph that remains attached to a page may need a supported camera capture or professional assistance. The safest capture method is the one appropriate to the original's condition, not necessarily the one that produces the quickest file.
Keep the lighting and camera position stable if you use a camera or phone. Avoid glare, perspective distortion, and a shadow from your hands. Include the full print and inspect whether the capture is sharp across its surface. A phone can make a useful reference image, but assess whether its processing and resolution meet your preservation purpose.
Match capture resolution to the original and intended use
Scanner resolution describes how densely the surface is sampled. More pixels can help with enlargement or cropping, but cannot recreate detail absent from the print. Interpolated settings may produce larger files without corresponding captured detail, so check the scanner's optical capability.
The Library of Congress introduction to personal scanning explains pixels, common print scanning choices, and compression. Its advice is a starting point for ordinary snapshots, not a certification that one setting preserves every kind of original.
For a modeled 4-by-6-inch print captured at 300 pixels per inch, the image dimensions are about 1,200 by 1,800 pixels. At 600 pixels per inch, they become about 2,400 by 3,600. That doubles each dimension and quadruples pixel count. It does not guarantee four times the meaningful photographic detail.
Intended use | What to check in a sample | Reason to reconsider the setting |
|---|---|---|
Same-size family reprint | Faces and fine details look adequate at the intended size | Important detail is visibly undersampled |
Larger print | Pixel dimensions support the larger output you want | Enlargement exposes capture limitations |
Crop of one person | The cropped area retains useful detail | The subject occupies only a small part of the original |
Historical context record | Full edges, reverse notes, and grouping are captured | Automatic cropping removed meaningful information |
Test a few representative prints rather than using the smallest one as the only guide. Small images, fine detail, film, and damaged originals can require a different method. Keep the purpose and limits in the project note.
Separate master capture from improved viewing copies
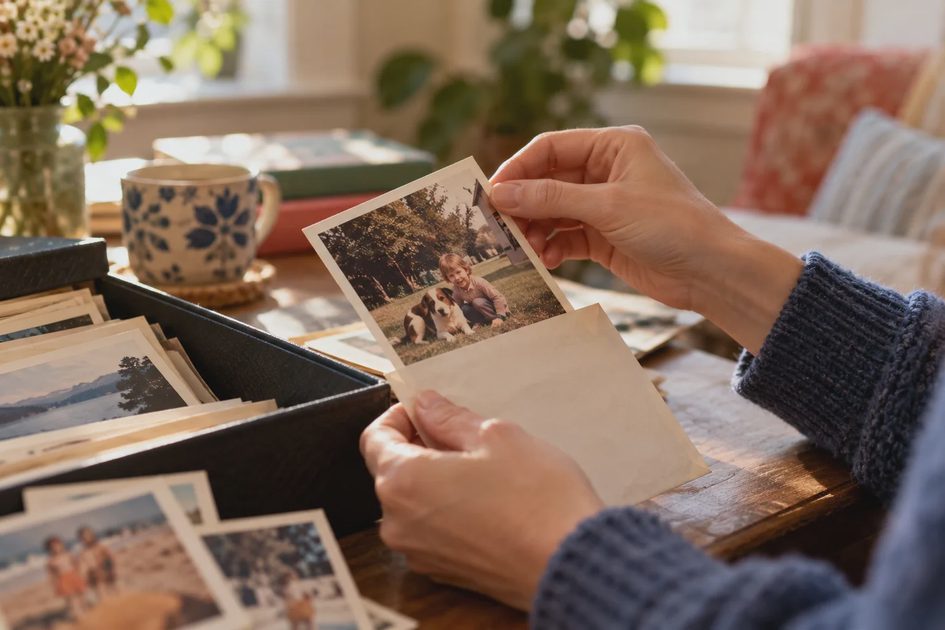
An untouched master records what you captured before cropping, color correction, dust removal, or restoration. A viewing copy can be rotated, cropped, or adjusted to make the image easier to enjoy. Keeping these roles separate preserves future choices.
Choose a master format your capture tool supports reliably and your household can preserve. Lossless TIFF is a common choice for scan masters when practical; high-quality JPEG may be a workable household compromise when software, storage, and maintenance needs differ. Understand that JPEG uses lossy compression and repeated editing and saving can discard additional information.
Do not claim a scan is archival merely because its filename ends in TIFF. Capture quality, metadata, original handling, storage, and recovery still matter. A badly focused lossless file remains badly focused.
For monochrome prints, consider whether color capture preserves useful paper tone, marks, or annotations. Grayscale can be appropriate for some purposes, but make the choice from a sample rather than assuming a black-and-white photograph contains no meaningful color information.
Avoid automatic enhancement on the only master. If an application applies processing by default, inspect its settings and document what it did. AI restoration should create an explicitly labeled derivative because it may invent details that were not recoverable from the source.
Assign an identifier before you lose the relationship
A simple batch and item identifier can connect the print, front scan, reverse scan, and context note. For example, a first batch might contain items 001 through 010. The identifier is not a date or an assertion about who appears; it is a stable link.
You can use a nearby paper slip during processing, without attaching adhesives to the photograph. Store each completed item in its original group or a suitable sleeve with the corresponding identifier. If writing on a housing is appropriate, keep the writing off the photographic surface.
Give reverse scans the same item identifier plus a clear back suffix. Preserve spelling, uncertain names, and original annotations in the notes. A transcription can make the words searchable, while the image of the reverse retains their physical context.
Do not rename every item after a confidently guessed date. When the date is uncertain, put the range in the description. The stable identifier lets you improve the context later without breaking the relationship between files and originals.
A modeled first batch of twelve photographs
Consider twelve stable loose prints from one inherited envelope: nine color snapshots, two black-and-white portraits, and one picture with a useful inscription. These are hypothetical inputs chosen to demonstrate decisions, not a report of a measured scanning project.
The household first records the envelope's wording and keeps the prints in their found order. It assigns twelve identifiers and tests two different prints. One has fine detail in a distant face, while the other has a faded inscription on the reverse. The samples help determine whether the chosen resolution and color settings serve both needs.
The inscription receives a reverse capture linked to its front. The other eleven prints are checked for notes before being declared front-only. The batch therefore produces at least thirteen master image files, not twelve. File count depends on what was captured and should not be confused with the number of physical originals.
A viewing copy is made for the faded portrait, with the master untouched. That additional derivative changes the file count again. The inventory records twelve originals, thirteen masters, and one derivative, assuming no rescans are retained. These numbers describe the model's accounting; they are not a quality score.
Before the envelope returns to storage, the household opens every master, checks identifier pairing, and verifies a separate recovery copy. If one scan is blurred, it is repeated while the original remains available. Only then does the household move to the next small batch.
Inspect the scan as a file, not only a preview
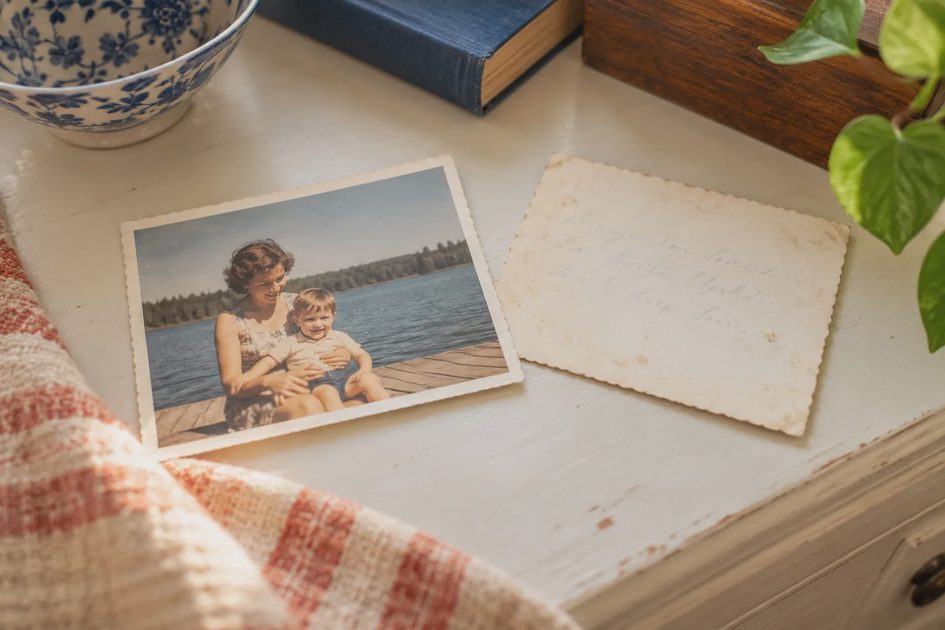
Check the whole image, then zoom to areas that reveal focus and detail. Look at faces, writing, high-contrast edges, and any corner where the print lifted from the glass. Confirm that automatic cropping did not remove the border or an annotation.
Watch for recurring dust marks across several scans. A repeated spot in the same position may come from the equipment rather than the originals. Correct the capture setup before multiplying the problem through another batch.
Verify orientation and file dimensions. If a supposedly high-resolution scan has unexpectedly small dimensions, inspect the export settings. The software may have saved a sharing-size copy rather than the intended master.
Open the saved file outside the capture preview when practical. A preview held in memory does not prove the export completed. Check that the destination has enough space and that the file can be read after the capture application closes.
A count and total size can flag omissions, but they do not prove fidelity. The best household check combines batch accounting with visual inspection and a usable recovery copy. Record unresolved concerns rather than hiding them behind a finished label.
Preserve the story without inventing certainty
Ask relatives about small groups while the originals and their arrangement are still understandable. Questions such as who appears, where the gathering took place, and approximately when it happened are more useful than demanding an exact date for every picture.
Record who supplied each identification. If two relatives disagree, preserve both accounts or mark the detail unresolved. A confident caption created from a guess can become difficult to correct after it circulates through the family.
Use descriptions that distinguish what you know from what you infer. Approximately 1978, based on the house move is clearer than an invented timestamp. Keep the original inscription even if later research suggests it was mistaken.
Consider privacy when sharing. A family collection can retain detailed context in a restricted record while a public viewing copy uses a general caption. Scanning does not imply permission to publish every identifiable person or private document that was found in the box.
Keep rescans understandable
A second capture can be necessary when the first missed an edge or used the wrong setting. Preserve the item identifier and add a capture revision rather than assigning a new identity to the same physical print. Otherwise the inventory can mistakenly count one original twice.
Compare the replacement with the earlier scan before deciding what to retain. A sharper capture may be preferable, but an earlier file might include a border or reverse note omitted later. Keep whichever information is valuable, and record which master is the intended current capture. Do not use a smaller edited copy to replace a more complete original scan merely because it looks brighter.
For a large batch, keep capture settings in a batch note: equipment, date, selected resolution, file format, and known processing. These details help explain why two scans differ and how to repeat the work. They are a process record, not proof that the scanner met a laboratory standard. If you change a setting mid-batch, mark the boundary so the next person does not assume the files are equivalent.
Store the originals and the files for different risks
Physical prints and digital scans protect different possibilities. A scan makes an image accessible without repeatedly handling the original. The original may contain texture, detail, or historical evidence the capture did not preserve. Do not dispose of important originals simply because scans exist.
The Library of Congress photograph preservation FAQ offers guidance on suitable housing and notes that light exposure can damage photographs. Follow appropriate storage advice for the materials you have rather than treating a bright display shelf as long-term preservation.
For digital files, maintain copies in separate places and keep the inventory with them. A second folder on the same drive does not protect against that drive's failure. A synchronized cloud view requires its own analysis of deletion and history before you count it as recovery protection.
Choose a stopping point that leaves the project resumable. The completed batch should have identifiable originals, checked masters, connected notes, and a documented recovery copy. The incoming box can remain partly unsorted without invalidating what you have finished.
Your first ten or twelve scans establish a method. Once handling, capture, context, and recovery work together, repeat the method in small batches. The result should be a collection your family can recognize and enjoy, with the original evidence still available for future questions.
Comments
No comments yet — be the first to share a thought.